Upgrading a MySQL database on AWS can be a challenging task, especially when aiming for minimal downtime and a seamless transition. The Blue-Green Deployment method provides a robust solution by allowing database upgrades with an easy rollback option. In this guide, we’ll walk you through upgrading your MySQL database on AWS using the Blue-Green Deployment approach.
What is Blue-Green Deployment for Databases?
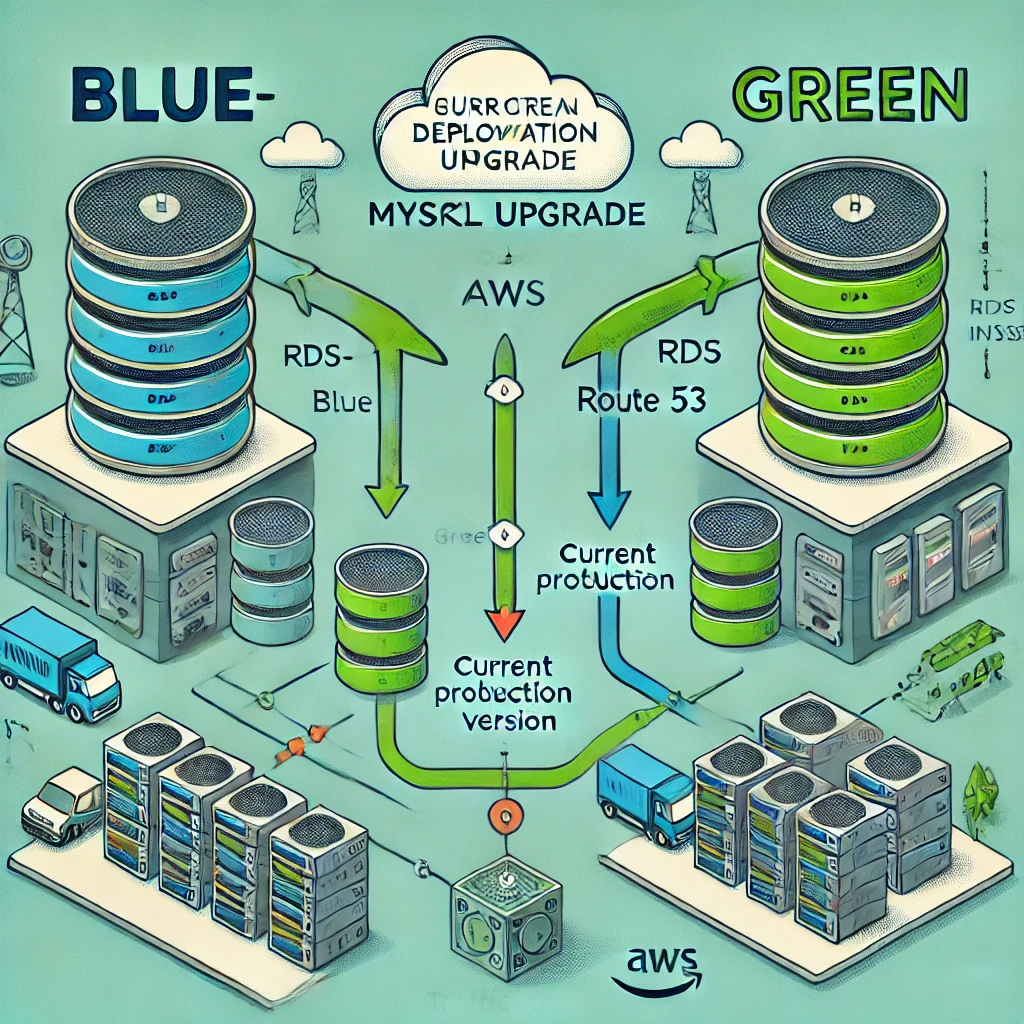
Blue-Green Deployment is a strategy that involves creating two separate database environments:
- Blue (Current Production Database): This is your live MySQL database handling all active traffic.
- Green (Upgraded Database): A new, upgraded version of your MySQL database, running in parallel to Blue.
Once the Green database is tested and verified, traffic is switched from Blue to Green, ensuring a smooth upgrade process with minimal service disruption.
Step-by-Step Guide to Upgrading MySQL on AWS
Step 1: Plan Your Upgrade
Before making changes, consider the following:
- Check AWS RDS Upgrade Path: AWS provides both major and minor version upgrades for MySQL. Verify that your desired upgrade path is supported.
- Review Application Compatibility: Ensure your application and queries are compatible with the new MySQL version.
- Decide on a Downtime Strategy: Blue-Green allows near-zero downtime, but replication lag might introduce minor inconsistencies. For truly zero downtime, use AWS DMS (Database Migration Service).
Step 2: Set Up the Green (New) MySQL Database
For AWS RDS (Managed MySQL):
- Create a Snapshot of the Existing (Blue) Database:
- Navigate to AWS RDS Console → Databases.
- Select your MySQL database (Blue).
- Click Actions → Take Snapshot and name it (e.g.,
blue-db-snapshot).
- Launch a New (Green) Database from the Snapshot:
- In the Snapshots tab, select
blue-db-snapshot. - Click Actions → Restore Snapshot.
- Choose the upgraded MySQL version and set the database identifier as
green-db.
- In the Snapshots tab, select
- Enable Read Replication (Optional for AWS DMS):
- Enable binary logging (
binlog) for real-time data replication between Blue and Green.
- Enable binary logging (
For Self-Managed MySQL (EC2):
- Launch a New EC2 Instance with the latest MySQL version.
- Backup & Restore Data:
mysqldump -u root -p --all-databases > backup.sql scp backup.sql ec2-user@green-db:/home/ec2-user/On the Green server:mysql -u root -p < backup.sql - Set Up Replication (optional for minimizing data inconsistency).
Step 3: Test the Green Database
Before switching traffic, verify:
- Application connection to
green-db. - Query execution & performance benchmarks in AWS CloudWatch.
- Replication status if using AWS DMS.
Step 4: Switch Traffic from Blue to Green
Option 1: Using Route 53 (DNS-Based Connections)
- Update the database CNAME record:
db.example.com → green-db.endpoint.rds.amazonaws.com - Lower TTL (Time-To-Live) for faster propagation.
Option 2: Modify AWS RDS Cluster Endpoint (For Aurora Users)
- Update the cluster endpoint to point to
green-db.
Option 3: Modify Application Configuration
- Update database host settings in
.envor config files.
Step 5: Monitor & Verify
- Use CloudWatch Metrics to monitor:
- Query performance
- Connection errors
- Replication lag (if applicable)
- Run database consistency checks:
SELECT COUNT(*) FROM table_name; - If all tests pass, decommission the Blue database.
Step 6: Rollback Strategy (If Needed)
If issues arise after the switch:
- Revert Route 53 DNS settings to
blue-db. - Redirect traffic back to Blue.
- Investigate and fix the issues in Green before reattempting the upgrade.
Final Thoughts
Using a Blue-Green Deployment for MySQL upgrades on AWS ensures minimal downtime and provides a fail-safe rollback mechanism. By carefully planning and testing, you can achieve a seamless upgrade while maintaining database integrity and application performance.
By following this step-by-step guide, you can confidently upgrade your MySQL database on AWS without disrupting your operations. 🚀