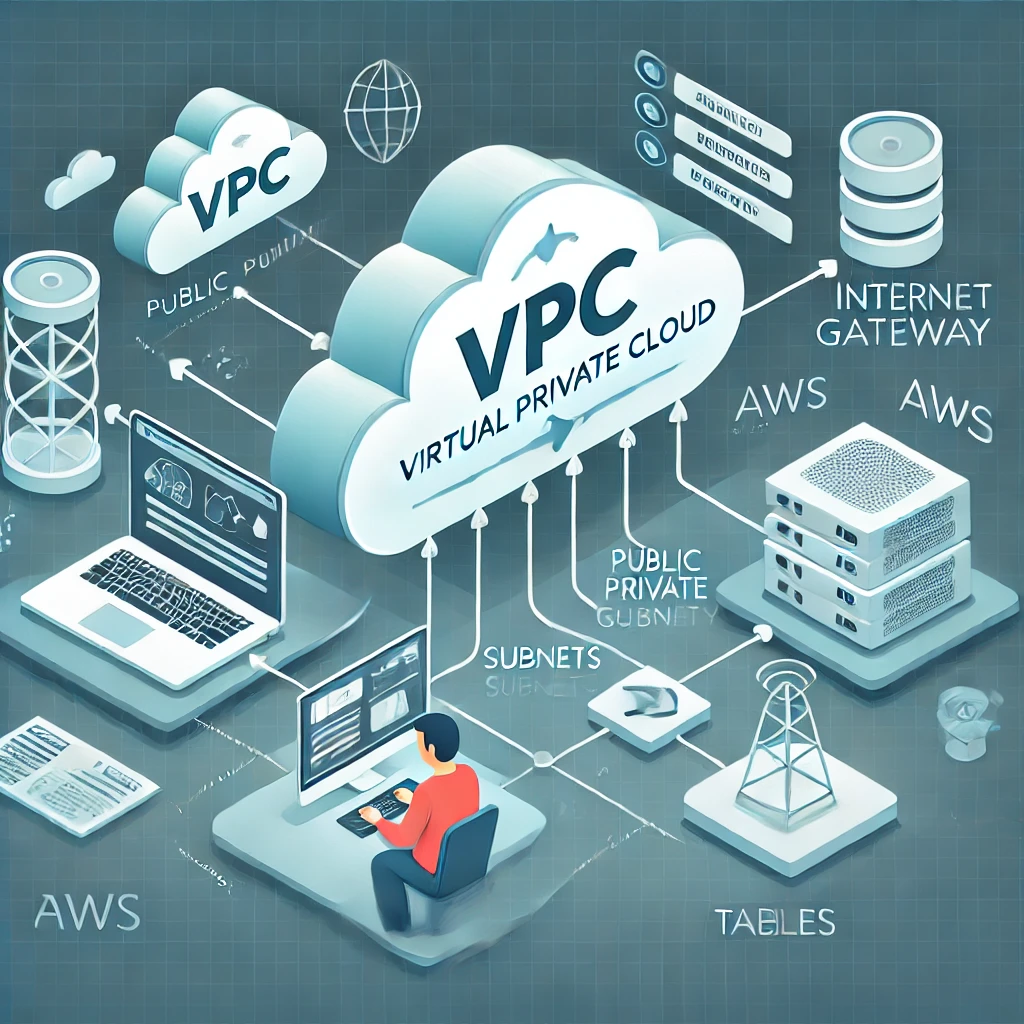
Amazon Web Services (AWS) offers Virtual Private Cloud (VPC) as a foundational service to create isolated network environments in the cloud. Setting up a VPC is an essential step for anyone building scalable, secure, and flexible cloud infrastructures. In this blog post, we’ll guide you through the process of creating a VPC on AWS, step by step.
Step 1: Log in to AWS Management Console
- Open the AWS Management Console.
- Navigate to the VPC Dashboard by typing “VPC” into the search bar and selecting the service.
Step 2: Launch the VPC Wizard
- In the VPC Dashboard, click on the “Create VPC” button.
- AWS provides two options:
- VPC only: Creates just the VPC.
- VPC and more: Sets up a VPC along with subnets, internet gateways, and additional components.
Choose the option that fits your needs. For most basic setups, “VPC only” will suffice, but “VPC and more” can save time if you want a full network structure.
Step 3: Configure VPC Settings
When creating the VPC, you’ll need to provide the following details:
- Name tag: Assign a name for easy identification, e.g.,
MyVPC. - IPv4 CIDR block: Define the IP range for your VPC (e.g.,
10.0.0.0/16). This range specifies the network’s size and structure. - IPv6 CIDR block: (Optional) Enable IPv6 if your application needs it.
- Tenancy:
- Default: Resources share hardware with other AWS customers.
- Dedicated: Instances run on hardware dedicated exclusively to you (costs more).
Step 4: Add Subnets (Optional)
If you’re using the “VPC and more” wizard, you can define subnets for your network:
- Public Subnet: Used for resources (e.g., web servers) that need internet access.
- Private Subnet: Used for internal resources (e.g., databases) that don’t need direct internet access.
Make sure to distribute your subnets across multiple Availability Zones (AZs) for high availability and fault tolerance.
Step 5: Add an Internet Gateway (Optional)
To enable internet access for your VPC:
- Attach an internet gateway (IGW) to your VPC. The wizard may do this for you automatically, or you can add it manually later.
- This allows resources in public subnets to connect to the internet while remaining isolated within the VPC.
Step 6: Enable DNS Hostnames (Optional)
By default, your VPC might not have DNS hostnames enabled. To enable this:
- Go to the VPC Dashboard.
- Select your VPC, click Actions, and choose Edit DNS Hostnames.
- Enable this option if your instances need to resolve DNS names.
Step 7: Review and Create
Before finalizing your VPC, review all configurations. Ensure the CIDR block, subnets, and optional components (like the internet gateway) are correctly defined. Once satisfied, click Create VPC.
Step 8: Post-Creation Configurations
After creating your VPC, you’ll need to configure additional components:
- Route Tables: Create or modify route tables to control traffic flow. For public subnets, add a route for internet-bound traffic (
0.0.0.0/0) that points to the internet gateway. - Security Groups: Define inbound and outbound rules to control traffic to and from your instances.
- Network ACLs: Add extra access control at the subnet level if needed.
Creating a VPC Using AWS CLI
If you prefer command-line tools, you can create a VPC using the AWS CLI. Here’s an example command:
aws ec2 create-vpc --cidr-block 10.0.0.0/16 --tag-specifications 'ResourceType=vpc,Tags=[{Key=Name,Value=MyVPC}]'
This creates a VPC with a 10.0.0.0/16 CIDR block and tags it with the name MyVPC.
Conclusion
Creating a VPC on AWS is a crucial step in building a secure and scalable cloud infrastructure. With these steps, you can configure a basic VPC or a fully featured network environment tailored to your application’s needs. Whether you’re a beginner or a seasoned cloud architect, AWS provides the tools to get started quickly and efficiently.
Have questions or need more tips? Let us know in the comments!