WHMCS is a powerful web hosting automation platform, but sometimes you may want to customize its title to better reflect your brand. Changing the title in WHMCS is a simple process, and in this guide, we’ll walk you through multiple ways to do it.
Save Time, oder a ready to go web hosting templates and website for yourself in your budget
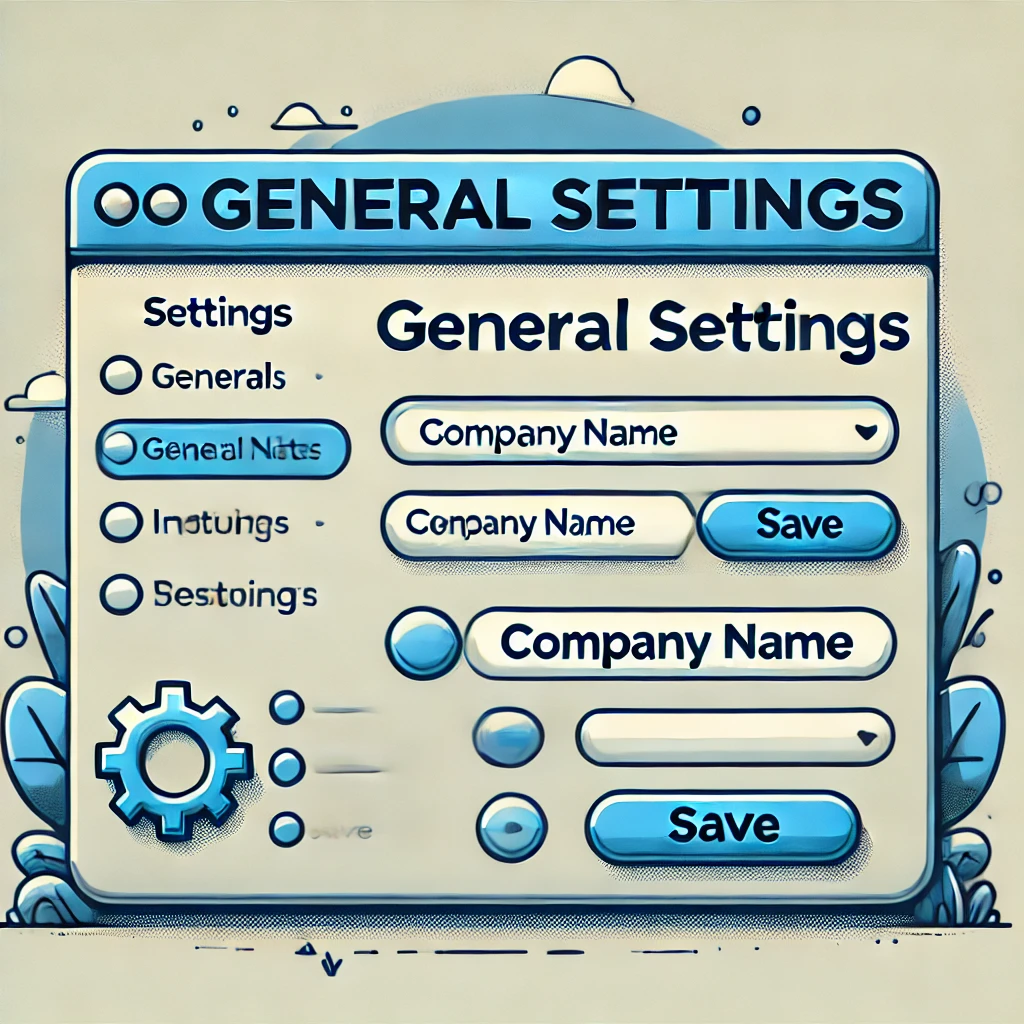
Method 1: Change the Title via WHMCS Admin Panel
The easiest way to update the title is through the WHMCS General Settings.
- Log in to WHMCS Admin Panel.
- Navigate to Setup → General Settings.
- Under the General tab, find the Company Name field.
- Enter your desired title (this will appear in the browser tab and header).
- Click Save Changes.
This method ensures that your title updates across various sections of WHMCS automatically.
Method 2: Change the Title in the Template File
For more control, you can manually edit the header.tpl file in your WHMCS theme.
- Access Your WHMCS Installation Folder.
- Navigate to:
templates/{your-template}/header.tpl - Open
header.tpland locate this line:<title>{$pagetitle} - {$companyname}</title> - Modify it to:
<title>My Custom WHMCS Title</title> - Save the file and refresh your WHMCS site.
This method allows full customization of how the title appears.
Method 3: Change the Title for Specific Pages
If you want to change the title only for certain pages:
- Open the corresponding template file (e.g.,
clientarea.tplfor the client dashboard). - Add this line at the top:
{assign var="pagetitle" value="Your Custom Title"} - Save and reload the page.
This method is useful if you want different titles for different pages in WHMCS.
Final Thoughts
Changing the title in WHMCS is quick and easy, whether you use the admin panel or manually edit template files. Using the first method ensures automated updates, while the template file methods allow for deeper customization.
By following these steps, you can personalize WHMCS to match your branding and improve your users’ experience. 🚀