Overview
Dify is an open-source platform designed to simplify the development, management, and hosting of AI-powered applications. It enables developers to integrate large language models (LLMs), such as GPT, into custom tools and services seamlessly. With Dify, businesses and developers can leverage AI capabilities to create scalable and efficient applications, saving time and effort in the integration process.
This guide provides a step-by-step process for installing Dify on an Ubuntu system.
Prerequisites
Before installation, ensure you have the following:
- Ubuntu Version: Ubuntu 20.04 or higher.
- System Resources: At least 2 GB of RAM and 10 GB of free storage.
- Privileges: Root or sudo access.
- Software Requirements: Docker and Docker Compose installed.
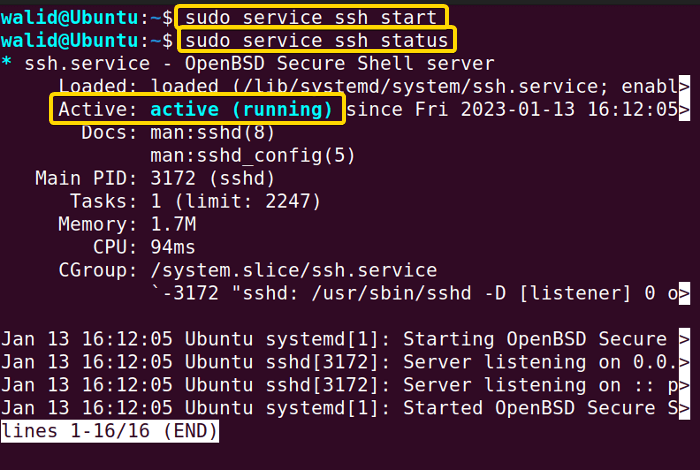
Installing Dify on Ubuntu with Automated Backup
1. Install Dependencies
Ensure your Ubuntu system is up to date and install the required dependencies:
sudo apt update && sudo apt upgrade -y
sudo apt install -y git curl docker.io docker-compose
2. Clone Dify Repository
Clone the official Dify repository:
git clone https://github.com/langgenius/dify.git
cd dify
3. Set Up Environment Variables
Create a .env file to configure Dify. Use the example configuration provided in the repository:
cp .env.example .env
Edit the .env file to customize your setup (e.g., database credentials, backup paths).
4. Start Dify Using Docker
Run the following commands to start the Dify application using Docker Compose:
docker-compose up -d
This will spin up the necessary containers for running Dify.
5. Verify Installation
Visit http://localhost:3000 (or the specified port in your .env) to confirm Dify is running.
6. Configure Automated Backups
a. Backup Database
To back up the database (e.g., PostgreSQL), follow these steps:
- Create a script
backup_dify.sh:
#!/bin/bash

BACKUP_DIR="/path/to/backup/directory"
TIMESTAMP=$(date +"%Y%m%d%H%M%S")
DB_CONTAINER="dify_postgres" # Replace with the actual container name
DB_NAME="dify_db"            # Replace with your database name
DB_USER="postgres"           # Replace with your database user

mkdir -p $BACKUP_DIR
docker exec -t $DB_CONTAINER pg_dump -U $DB_USER $DB_NAME > $BACKUP_DIR/dify_backup_$TIMESTAMP.sql
find $BACKUP_DIR -type f -mtime +7 -delete  # Delete backups older than 7 days
- Make the script executable:
chmod +x backup_dify.sh
- Add a cron job for daily backups:
crontab -e
Add the following line to run the backup at 2 AM every day:
0 2 * * * /path/to/backup_dify.sh
b. Backup Configuration Files
Include the dify directory in a separate backup script. Use tools like rsync or tar:
tar -czvf /path/to/backup/dify_config_backup_$(date +"%Y%m%d%H%M%S").tar.gz /path/to/dify
Add this to the same or a separate cron job.
7. Monitor and Maintain
- Check Logs: Monitor Dify logs using
docker logsto ensure the application runs smoothly. - Backup Validation: Regularly test your backups by restoring them in a development environment.
- Security Updates: Update Dify and its dependencies periodically by pulling the latest version and restarting:
git pull origin main
docker-compose down
docker-compose up -d
Conclusion
By following this guide, you can install Dify on Ubuntu and ensure automated backups for reliable operation and data security. Regularly monitor your setup to maintain performance and data integrity.